Do your waterproof boots not appear as “clean” anymore? Is it staining? Does the color change to a little bit brownish?
Chances on the dirty waterproof boots that also have an unfriendly odor that will drive everyone away. The smell could lead to many problems including feet infection. That’s why it is always recommended to clean and maintain your boots on a regular basis so that you can wear boots in the best condition. However, when you already used the boots too many times, this color-changing is difficult to clean. Don’t worry about it. We have the solution tips for you.
Let’s start it by giving you the name of the main ingredient of the solution: baking soda. You surely stock some spices including baking soda in your kitchen.
The ingredients:
2 tbsp of baking soda
1 tbsp of hydrogen peroxide
1 tbsp of warm water
Tools that you need to prepared
Small scrub brush
How it works
Bleachers can sometimes ruin the materials of your waterproof boots. In many cases, the boot outsoles and outer parts were broken because of the sturdy bleachers. It is because most of the commercial bleachers have chlorine in their contents.
Instead of using harmful chemicals and bleachers, you could use the hydrogen peroxide. Hydrogen peroxide is an excellent replacement for bleach because it does not contain chlorine. When you mix it with baking soda, it will form the bubbles that are strong enough to remove stains and clean the fabrics from stubborn stains.
Read also:
How to clean suede boots?
How to clean timberland boots?
How to clean cowboy boots?
The method
 First things first, you will want to clean your waterproof boots from the dry dust, dirt, and other particles. Then let it dry.
Mix all of the ingredients in an adequate size of the bowl. You know that this paste can dry if you leave it behind. So, when you are done mixing the ingredients, you must apply the paste to the surface of the boots with the brush.
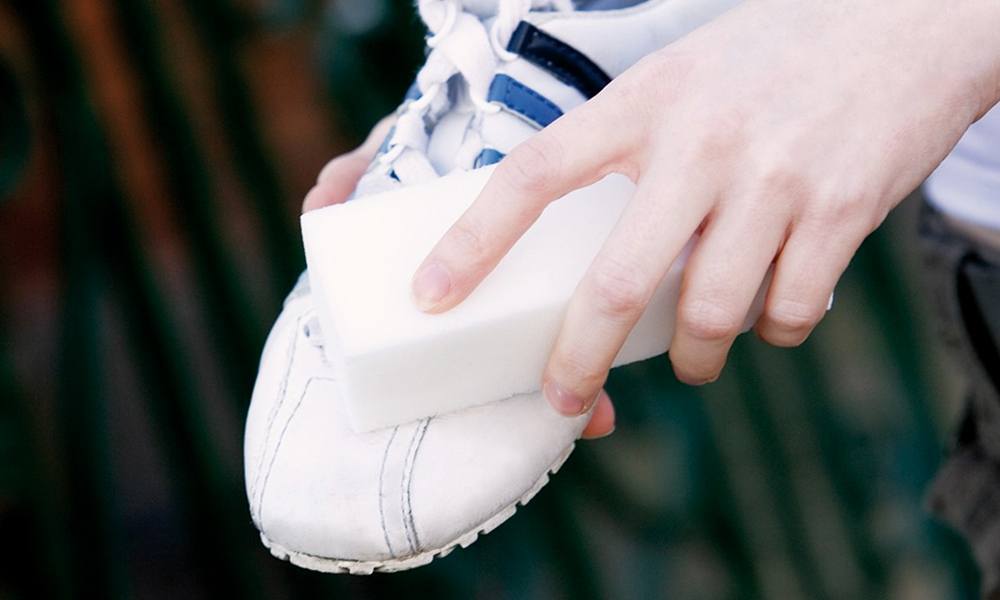
Remove the big pieces of the dirt. Make sure you de-lace the boots before applying the paste. Gently brush the mixture onto the surface of the boots. You could also press just hard enough to remove the stubborn dirt. However, it would help if you ever considered the quality of the fabric. If the material is too weak, don’t scrub too strong.
Scrub the affected areas which have discoloration or stains. Let the paste sit there for thirty minutes at a minimum. If you are living in a colder climate, you can let it for an hour or so. Wait until the dried solution becomes crackles. Then rinse with the lukewarm water. That’s it! You should see the great result if you did it the right way.
The thing about this method is that you will need to apply the paste if the stains or discoloration are too severe. Don’t worry, however. All you need to do is repeat the process we’ve mentioned before, and you are good to go. Alternatively, you could use the second coat of the paste without having to remove the first coat. Some folks even apply the third coat to let the boots sit for three up to five hours on a sunny day. There’s no exact measurement when it comes to this because you probably have a different design of boots. With the simple method above, you will master it in no time.